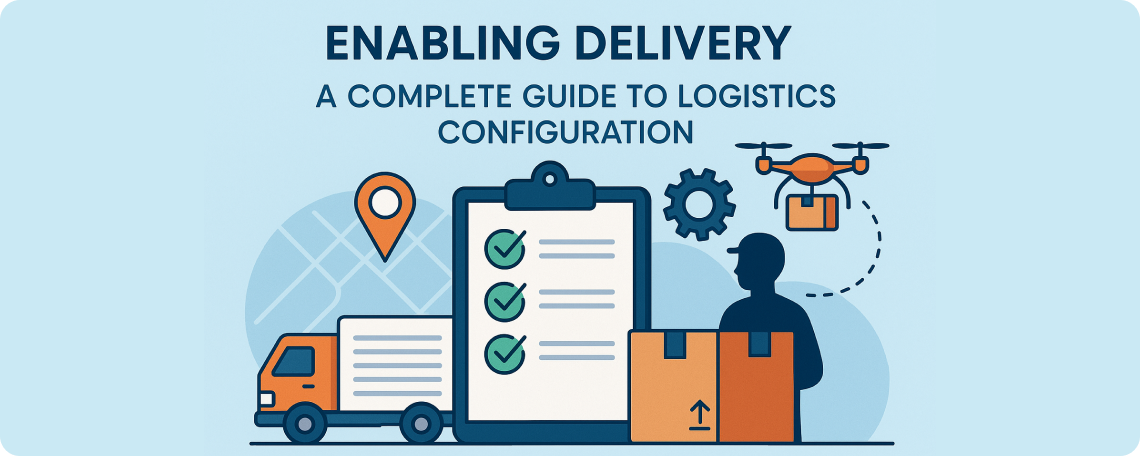
To start accepting delivery orders through your online store, you need to set up your logistics settings. Zopping lets you run your fleet or connect to a third-party courier. You can even specify details such as what areas you deliver to, how orders are dispatched, and how agents interact with orders.
This guide includes everything you’ll need to do to establish your delivery flow, including:
- API setup (required)
- Installing and configuring these three essential extensions:
- Shipping & Courier
- Delivery Support
- Delivery Area Support
Why Logistics Setup Matters
Before diving into the steps, here’s why completing the logistics setup is important:
- Start processing delivery orders on your storefront
- Use Zopping’s delivery app, or use your delivery fleet
- Connect with reliable courier partners, like Shiprocket, QWQER, Porter
- Define delivery coverage area based on zip codes, distance, or custom zones
- Automate delivery assignments and manage trips in the pipeline
Step 1: Configure Required APIs
Before installing any extensions related to logistics, Zopping needs you first to set up some Google APIs.
Prerequisites :
Navigate to Settings → API Integration and enter the following:
- Your Google Maps API Key
(get it from: Google Maps Platform → Credentials)
- Your Google CAPTCHA Site Key
(get it from: Google reCAPTCHA Admin Console)
- Your Google CAPTCHA Secret Key
Once you have all three, click on Save.
These keys are required for delivery zone mapping, geolocation, and security.
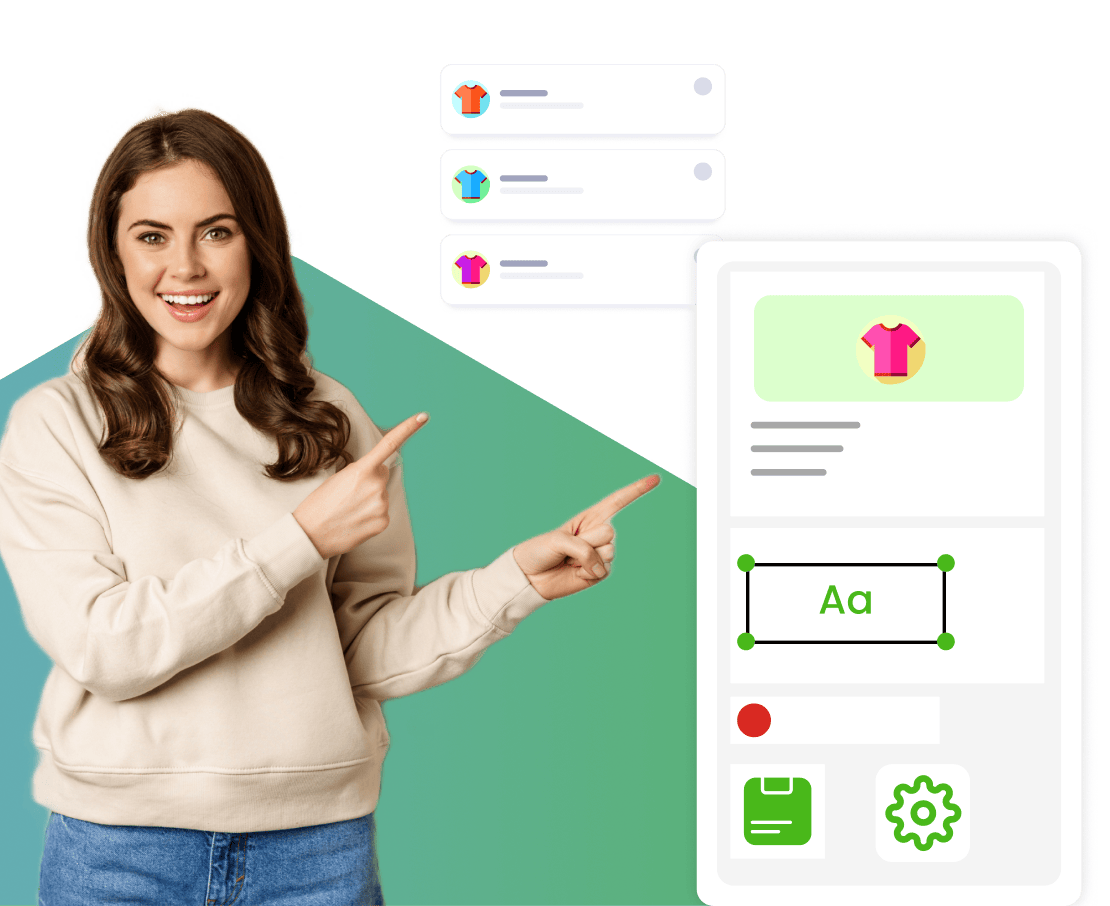
Step 2: Install and Configure the Required Extensions
Now, install the delivery extensions:
Go to:
Main Menu → Settings → Extensions → Delivery
You should see three extensions:
2.1 Shipping & Courier
This extension lets you connect with 3rd-party courier services like Shiprocket or Porter.
How to Configure:
- Install Shipping & Courier extension.
- Enable the toggle: “Use third-party courier services.”
- A dropdown will appear – select from:
- FedEx
- DHL
- Porter
- Choose Assignment Mode:
- Manual (default)
- You assign couriers manually for each order.
- Offers full control over which courier handles which delivery.
- Auto Assignment
- The system automatically assigns couriers based on your selected preference:
- Saver
Cost-effective option for non-urgent deliveries - Express
Fastest delivery, ideal for time-sensitive orders - Smart Pick
Balanced choice using a smart algorithm for speed and cost
- Optional: Enable “Show courier estimation and charges to customers.”
- Click Save
You’re now integrated with external courier services!
2.2 Delivery Support
This extension allows you to plan orders, dispatch them, create trips, and keep track of your delivery agents.
How to configure:
After installing, go to:
Settings → Extensions → Installed→ Delivery Support→ Configure
You will see these configuration options:
- Store Selection
– All Stores (default): Apply delivery settings across all stores.
– Select Individual Store: Useful for businesses managing different delivery rules by location. - Order Visibility for Riders (REs)
– One by one: Riders see one order at a time — good for focused delivery handling.
– All orders at once: Helps riders plan routes more efficiently with full order visibility. - Leave at Doorstep Allowed?
– Yes: Supports contactless delivery — ideal for customer convenience.
– No: Choose if doorstep delivery isn’t practical or secure in your area. - Capture Odometer Image?
– Yes: Helps track mileage for reimbursements or internal audits.
– No: Skip if odometer tracking isn’t needed in your delivery workflow. - Trip Generation Method
– Auto Assignment: Assign trips based on availability and vehicle ownership.
– Basic: Offers more manual control over trip planning.
– Automated: Fully automated trip generation based on detailed timing inputs.
- You’ll configure:
- Picking Times
– Fixed time (e.g., 180 sec)
– Per item time (e.g., 60 sec)
- Packing Times
– Fixed time (e.g., 120 sec)
– Per item time (e.g., 20 sec)
- Loading Times
– Fixed time (e.g., 180 sec)
– Per item time (e.g., 20 sec)
– Per container time (e.g., 60 sec)
- Delivery Timings
– Average service time (e.g., 300 sec)
– Average travel time (e.g., 700 sec)
– Average speed (e.g., 20 km/h)
- Order Breaking Method
– Clustering: Groups nearby orders together — reduces travel time and cost.
– Zoning: Delivers based on defined geographical zones — useful for large service areas.
- Delivery Fees
– Custom Amount (e.g., ₹200): Set a flat delivery fee that fits your pricing strategy.
2.3 Delivery Area Support
This extension lets you define where you deliver — via zip codes, map zones, or even specific apartments.
Prerequisites:
- API Setup (Step 1) must be complete
- Set your store’s location:
- Go to Settings → Store → Edit Store
- Add store address and click Submit
- Enable delivery orders:
- Go to Settings → Order Configuration
- Set Order Type to Delivery
How to Install and Configure:
- Go to Settings → Extensions → Delivery → Delivery Area Support → Install
- Then go to Extensions → Installed → Delivery Area Setup → Configure
You can now define delivery zones using any of these 4 methods:
A. By Zipcode
- Select store
- Enter a Zone Name (e.g., North Zone)
- Define Delivery Fee
- Add zip codes
- Click Add Group to save
You can use Add New to define multiple such zones.
B. By Distance From Store
- Select the store and add the Zone Label
- Search for your delivery center location
- Choose radius (e.g., 5 km)
- Add delivery fee
- Click Add Group
Use Add New for multiple regions.
C. Draw on Map
- Click Add New Zone
- Enter store, zone label, and delivery cost
- Use the map to draw custom boundaries
- Click Add Group when done
Great for hyperlocal delivery areas!
D. By Apartment
- Click Add New Apartment
- Select store
- Search for apartment (auto-fills location)
- Add zone label and delivery fee
- Click Add Group
You can manage deliveries to specific buildings this way.
Final Step: Confirm your setup
After finishing all three setups:
- Your store can now accept delivery-type orders
- You can track deliveries, assign agents, and assign delivery areas
- Customers will see delivery costs, options, and tracking (if on)
Need Help?
If you need expert assistance, our dedicated support team is ready to help you every step of the way.