Quick Links
ToggleAccepting payments online? Let’s make that simple.
Once your eCommerce site is up and running, the next step is connecting it to a payment gateway—the tool that allows you to accept credit cards, digital wallets, and other online payments securely.
Here’s a beginner-friendly guide to get you started.
What Is a Payment Gateway?
A payment gateway is the bridge between your online store and your customer’s bank. It securely captures payment details, authorizes transactions, and ensures funds are transferred safely.
Popular options include:
- Stripe
- PayPal
- Razorpay
- Square
- PayU
How to Connect Your eCommerce Website to a Payment Gateway?
Step-by-step procedure of connecting a payment gateway to your store
-
Choose the Right Payment Gateway
- Consider transaction fees, supported currencies, payout timelines, and integration support.
- Make sure it’s available in your country and works well with your target market.
-
Create a Merchant Account
- Sign up with your chosen gateway provider.
- You’ll need basic info: business name, bank details, ID verification, and sometimes GST or tax ID (depending on your region).
-
Get Your API Keys
- Once approved, your provider will give you API keys or credentials to integrate with your website. Keep these safe—they’re like passwords.
-
Integrate With Your eCommerce Platform
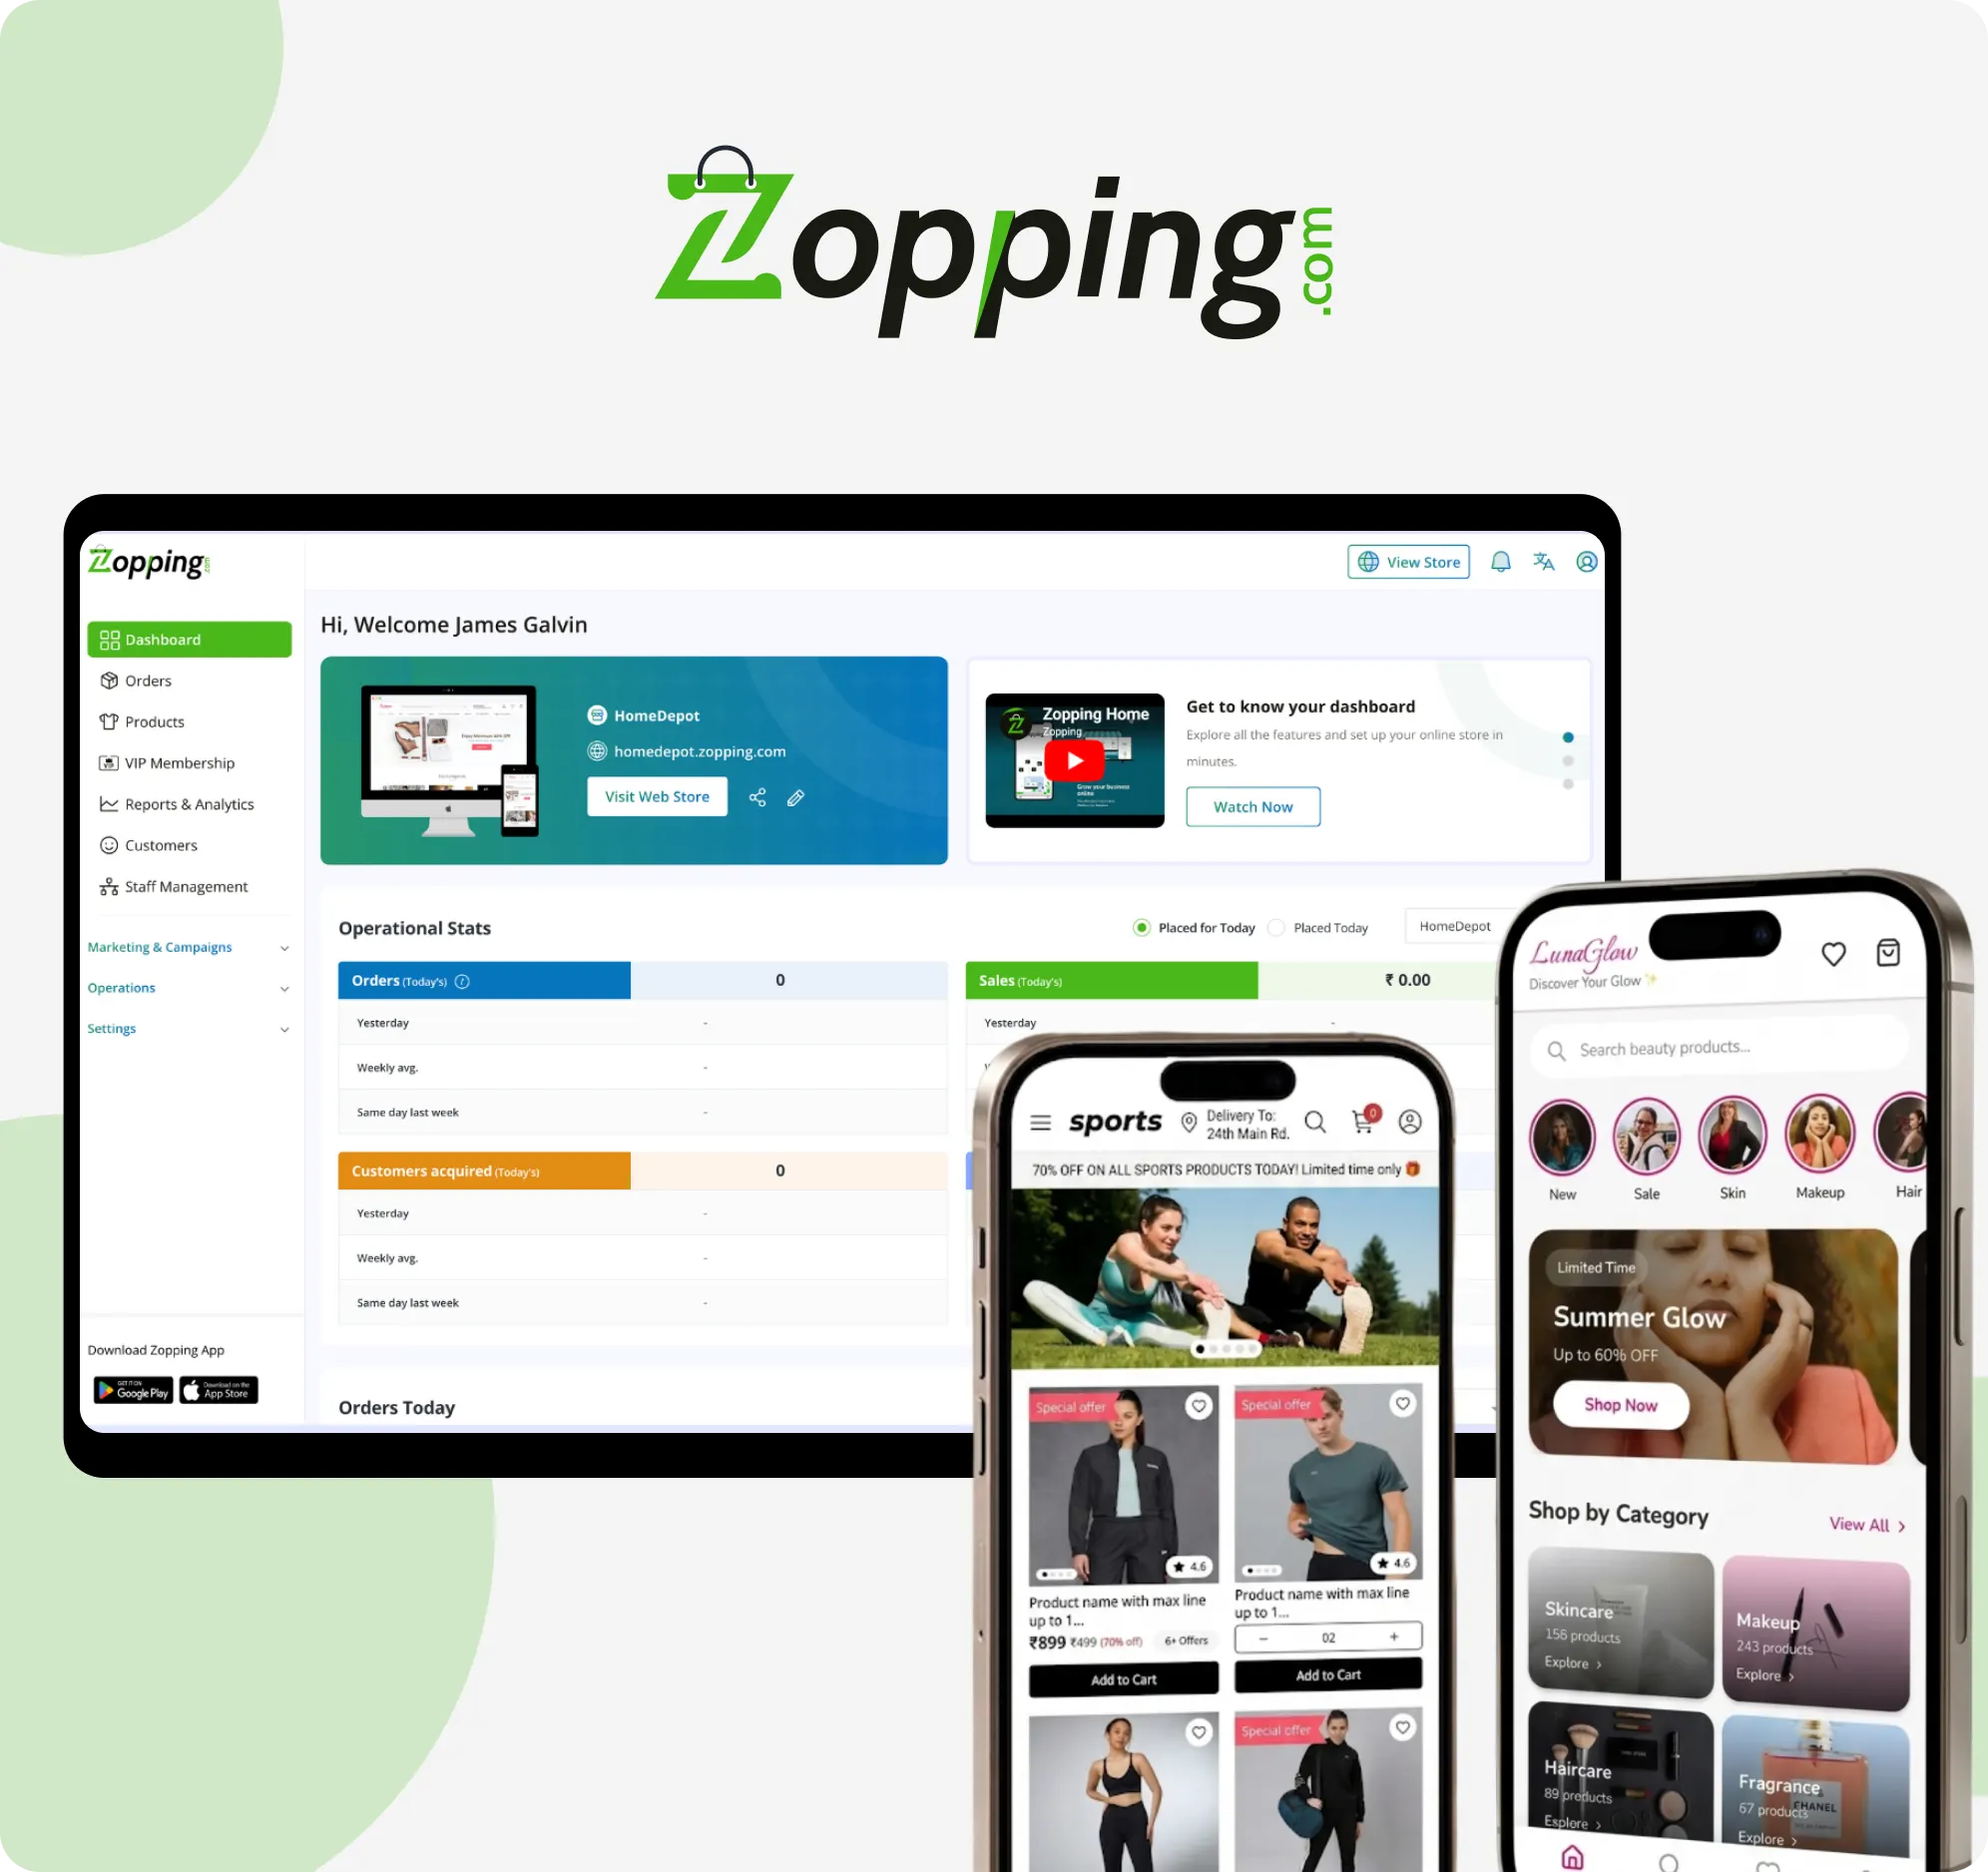
- If you’re using Zopping:
- Head to your Dashboard > Settings > Payments
- Choose your provider (e.g., Stripe, Razorpay)
- Paste your API keys and save
- Run a test payment to confirm it’s working
- If you’re using Zopping:
-
Enable Live Payments
- Switch from Test Mode to Live Mode when you’re ready to go public.
- Add a payment success and failure page for a smooth customer experience.
Tips for a Smooth Payment Experience
- Use SSL (HTTPS) on your site to protect customer data
- Test regularly—check for failed or delayed transactions
- Offer multiple payment options (credit card, UPI, wallet, etc.)
- Display trust badges to reassure buyers their data is safe
Final Thoughts
Getting your payment gateway connected might sound technical, but platforms like Zopping make it plug-and-play. With the right setup, you’ll be able to accept payments in minutes and focus on growing your store.
Need help? Our support team is just a click away. 💬